Blog
How to Rotate a View in Revit: A Step-by-Step Guide
Rotating views in Revit is a common task that can help you better align your project with the desired orientation. Whether you’re working on a floor plan, site plan, or elevation, knowing how to rotate views effectively is essential for accurate modeling and documentation. In this blog post, we’ll provide a step-by-step guide on how to rotate views in Revit, ensuring you can achieve the perfect alignment for your project.
Step 1: Turn on the Crop Region
- Right-click on the view you want to rotate.
- Select “View Properties” from the context menu.
- In the View Properties dialog box, check the “Crop Region” option and set it to “In Extents.”
- Click “OK” to apply the changes.
Step 2: Select the Crop Region
- Click on the crop region boundary to select it.
- Right-click on the selected crop region and choose “Rest Crop to View Extents” to ensure the crop region fits the view.
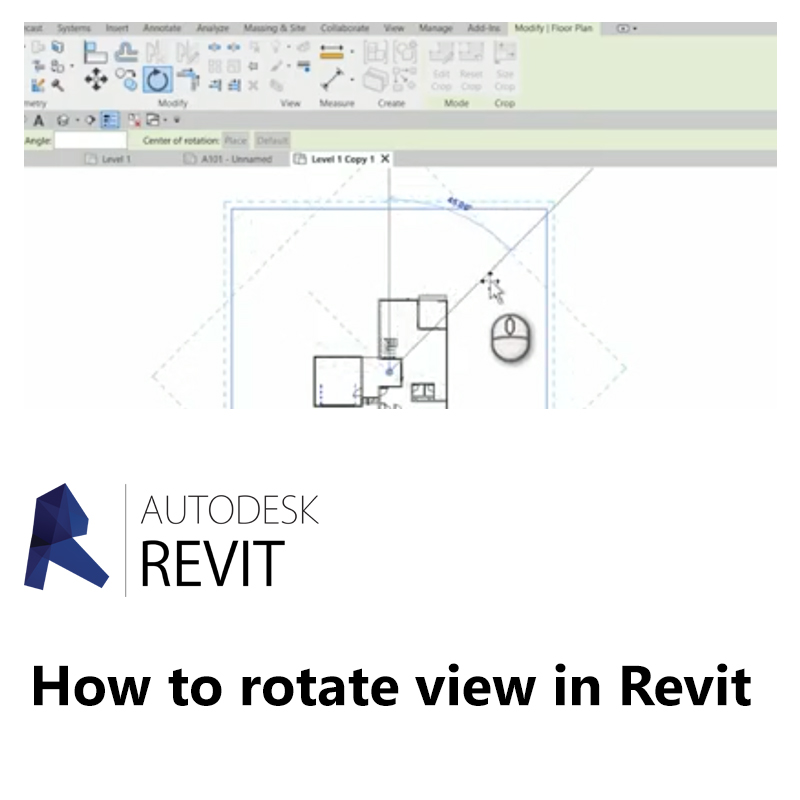
Step 3: Rotate the View
- Select the “Rotate” tool from the toolbar.
- Click and drag the crop region to rotate the view to the desired angle.
- Adjust the crop region as needed to fit the view and sheet.
Step 4: Rotate Text and Labels (if necessary)
- If text notes, tags, grids, or labels are not rotating with the view, you may need to manually adjust them.
- Select the text or label and use the rotate tool to align it correctly.
Step 5: Verify Orientation
- Check the orientation of the view to ensure it matches the desired angle.
- Use the “Project North” or “True North” settings to align the view according to your project requirements.
Best Practices:
- Regular Training: Ensure that all team members are trained on using the rotate tool and understanding the project’s orientation settings.
- Use of Guidelines: Follow industry guidelines and standards for view rotation to maintain consistency and accuracy.
- Documentation: Keep detailed records of any changes made to the view orientation for future reference.
Conclusion: Rotating views in Revit is a straightforward process that can significantly improve the accuracy and alignment of your project. By following these steps and best practices, you can ensure that your views are correctly oriented and meet project requirements.