Blog
How to Unhide Elements in Revit: A Step-by-Step Guide
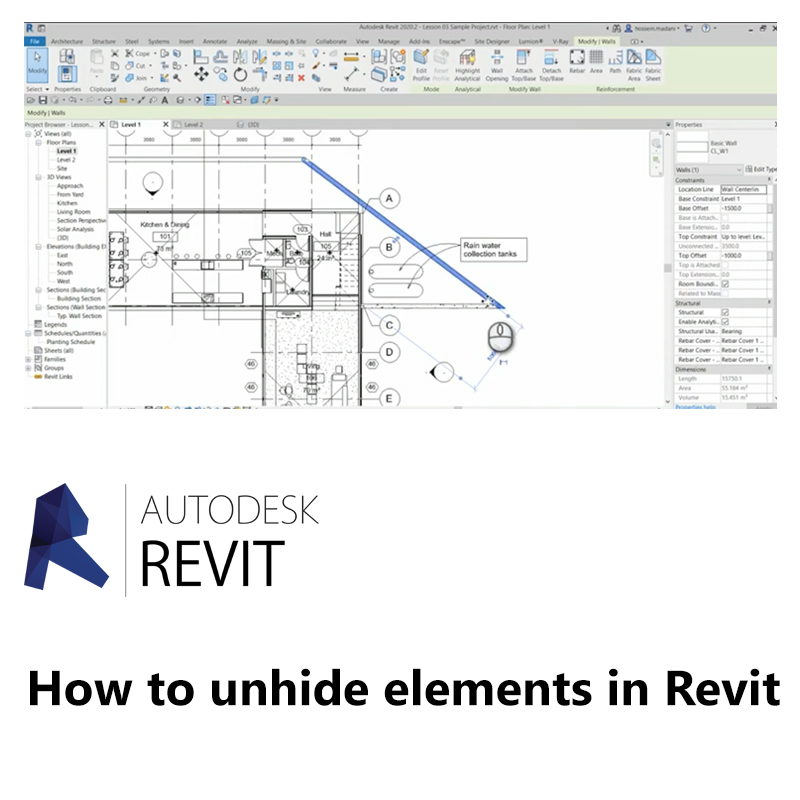
Unhiding elements in Revit is a common task that can help you regain visibility of important components in your model. Whether you’ve accidentally hidden elements or need to adjust visibility settings, knowing how to unhide elements effectively is essential for efficient modeling. In this blog post, we’ll provide a step-by-step guide on how to unhide elements in Revit, ensuring you can quickly restore visibility to your project.
Step 1: Reveal Hidden Elements
- Open the view where the elements are hidden.
- On the View Control Bar, click the “Reveal Hidden Elements” icon (lightbulb).
- The hidden elements will appear in magenta, and visible elements will be displayed in half-tone.
Step 2: Unhide Individual Elements
- Select the hidden element.
- Right-click on the element and choose “Unhide in View” > “Elements”.
- The element will become visible again.
Step 3: Unhide Categories
- Select the hidden category.
- Right-click on the category and choose “Unhide in View” > “Category”.
- All elements within the category will be unhidden.
Step 4: Reset Temporary Hide/Isolate
- If elements were hidden using the “Hide/Isolate” tool, right-click anywhere in the view.
- Select “Reset Hidden Elements” from the context menu.
- All temporarily hidden elements will reappear.
Best Practices:
- Regular Training: Ensure that all team members are trained on using the unhide features in Revit1.
- Use of Filters: Be mindful of filters and visibility settings that can hide elements.
- Documentation: Keep detailed records of visibility settings and changes to avoid accidental hiding of elements1.
Conclusion: Unhiding elements in Revit is a straightforward process that can save you time and improve your workflow. By following these steps and best practices, you can ensure that all necessary elements are visible in your model.